 Save
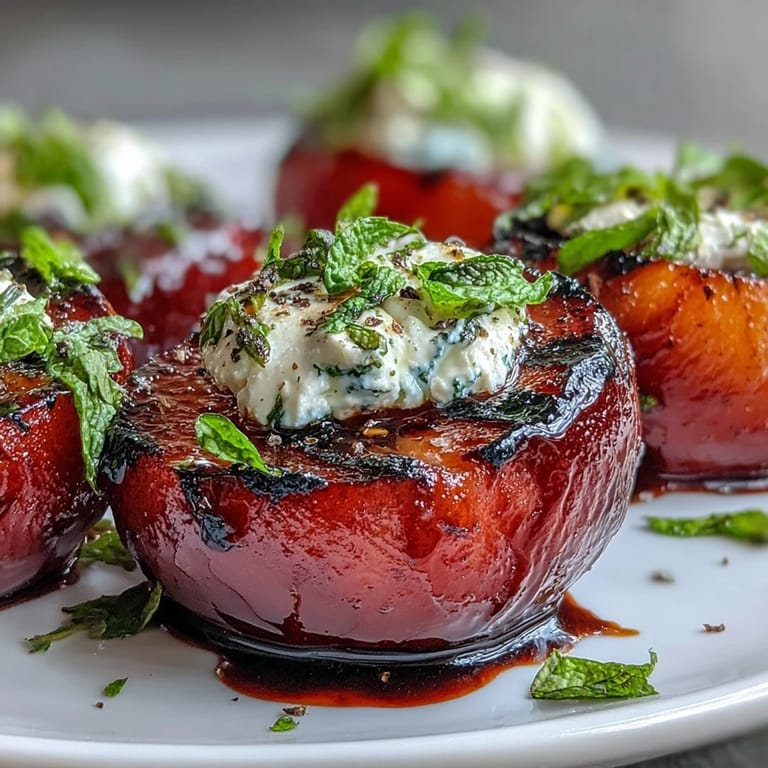
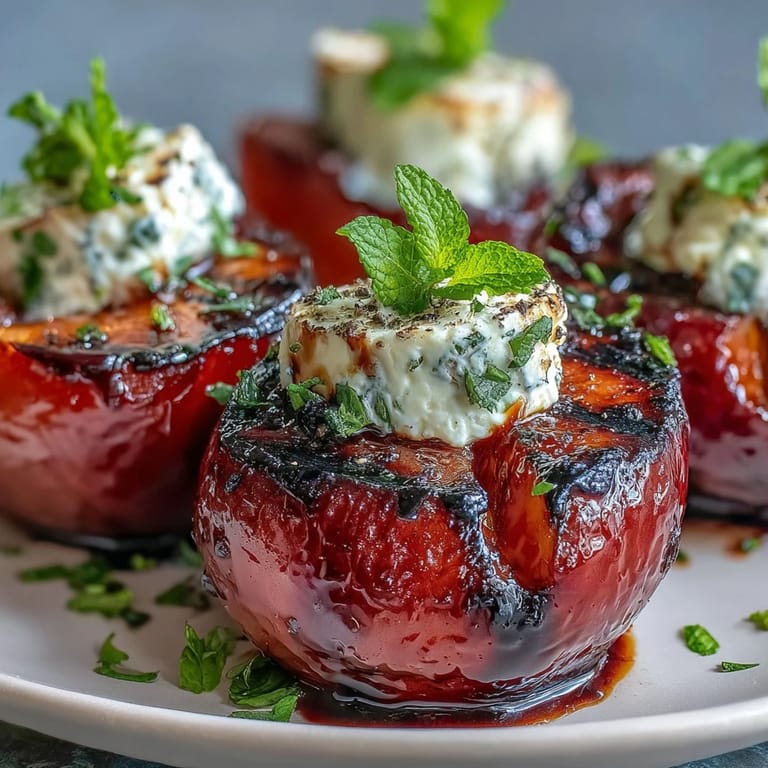
Save There's a particular magic to catching fruit at the exact moment between raw and charred, when the heat has just begun to coax out its natural sugars without destroying what made it fresh to begin with. I discovered these grilled plums on a late summer evening when a dinner guest mentioned she couldn't eat heavy desserts, and I found myself standing at the grill with four perfect plums, some goat cheese, and the kind of creative panic that sometimes leads to something genuinely lovely. The combination seemed almost absurdly simple until that first bite, when the warm fruit, cool cheese, and tangy glaze created something that felt far more sophisticated than the ten minutes it took to make.
My neighbor tasted these for the first time at a casual patio gathering where I was nervous about the grill being too hot, and she grabbed a second one before the plate even made it around the table. That moment of watching someone's face shift from polite interest to genuine delight reminded me why I love cooking dishes that bridge the gap between simple and special, between everyday ingredients and something that feels indulgent.
Ingredients
- Ripe but firm plums, halved and pitted: The firmness keeps them from falling apart on the grill, while ripeness means they're already full of natural sweetness that caramelization will amplify—choose plums that yield slightly to pressure but don't feel mushy.
- Olive oil: Just enough to create those beautiful char marks and keep the fruit from sticking; don't skip this layer.
- Fresh goat cheese, softened: Softening it for five minutes at room temperature makes it spreadable without tearing the delicate grilled fruit, and the tanginess cuts through the sweet glaze perfectly.
- Balsamic vinegar: Use the real thing if you can; cheap balsamic tastes thin and acrid, while quality versions have an almost fruity depth that transforms into something syrupy and complex on the heat.
- Honey: This balances the vinegar's sharp edges and helps the glaze coat the spoon with a glossy finish rather than running thin across the plate.
- Fresh mint or basil and black pepper: These aren't optional garnishes but necessary finishing touches that add brightness and a subtle bite to each bite.
Tired of Takeout? 🥡
Get 10 meals you can make faster than delivery arrives. Seriously.
One email. No spam. Unsubscribe anytime.
Instructions
- Heat your grill properly:
- Get that grill or grill pan to medium-high heat and let it sit for a solid minute so it's actually hot when the plums touch down. You want to hear a satisfying sizzle, not a timid hiss.
- Coat and place the plums:
- Brush those cut sides with olive oil and set them cut-side down on the hot surface, resisting the urge to move them around immediately. The stillness is what creates those caramelized char lines.
- Grill with confidence:
- Let them sit for 3 to 4 minutes until you see distinct grill marks and the flesh softens slightly. Flip gently and finish the other side for 2 to 3 minutes, then transfer to a plate.
- Make the balsamic magic:
- Pour the vinegar and honey into a small saucepan and bring to a gentle boil, then reduce heat to a simmer. Stir occasionally for 3 to 4 minutes until it reduces to a thick, syrupy consistency that clings to the back of a spoon.
- Assemble with intention:
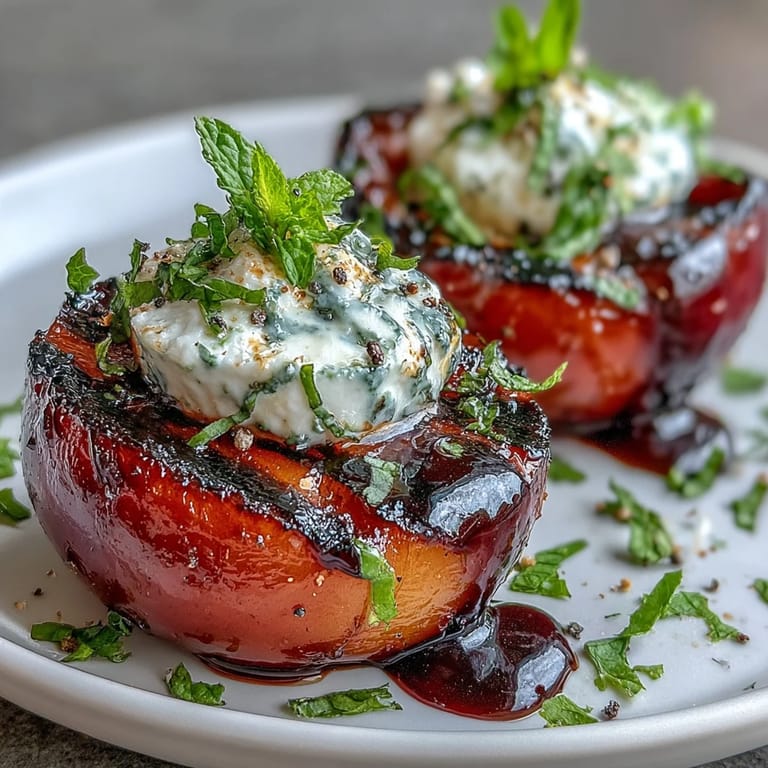
- Arrange the warm grilled plums cut-side up on a platter, then top each half with a generous dollop of that softened goat cheese. If you're feeling fancy, use a piping bag for cleaner lines.
- Finish and serve immediately:
- Drizzle the warm balsamic glaze over the cheese, scatter fresh mint or basil across the top, crack some black pepper over everything, and get these to the table while the contrast between warm and cool is still there.
 Save
Save There was an evening when my daughter, who usually picks at most foods, asked for seconds and then insisted on helping make these the following week, suddenly interested in what happens when you put fruit on fire. These plums somehow became the bridge between her picking-at-food phase and her willingness to try things prepared in unconventional ways, which taught me something about how the right dish at the right moment can shift perspective.
Choosing Your Plums
The variety of plum matters more than people realize—some are mealy, some are watery, and only the good ones actually benefit from grilling rather than just getting drier. Black or red plums with darker skin tend to have deeper flavor and hold their shape better on the grill than green plums, which can be a bit delicate. When you're at the market, pick plums that feel heavy for their size, which usually indicates higher sugar content and better texture.
The Balsamic Reduction Secret
Most people think balsamic glaze is just vinegar cooked down, and technically that's true, but the honey is where the transformation happens—it smooths out the harsh edges and creates this luxurious coating rather than a thin, acrid drizzle. I learned this the hard way after making batch after batch that tasted aggressively vinegary until a chef friend mentioned the honey addition, and suddenly the whole dish became balanced and elegant. The reduction continues to thicken slightly after you take it off the heat, so watch for that moment when it moves from syrupy to glossy.
Serving and Storage
These are best served within minutes of assembly while the plums are still warm and the cheese is creamy but not melting into oblivion. If you're making these for a crowd, you can grill the plums and make the balsamic reduction ahead, then assemble right before serving—that way nothing gets warm and soggy. The leftovers are actually decent cold the next day, though the magic of temperature contrast is lost.
- Pair with a chilled Sauvignon Blanc or Prosecco to echo the bright, acidic notes of the balsamic.
- For a vegan version, substitute the goat cheese with a high-quality plant-based alternative that softens at room temperature.
- Stone fruits like peaches, apricots, and nectarines work beautifully with this same treatment if plums aren't in season.
 Save
Save These grilled plums have become my go-to when I want to impress without spending the afternoon in the kitchen, and they've introduced me to the joy of discovering that sometimes the simplest combinations are the ones worth remembering. Make them once, and I suspect they'll find their way back to your table again and again.
Recipe Questions & Answers
- → Can I use other fruits instead of plums?
Yes, peaches, nectarines, or apricots work wonderfully as substitutes. Choose firm, ripe fruit that holds up well to grilling.
- → How do I know when the balsamic glaze is ready?
The glaze should coat the back of a spoon and have a syrupy consistency. It typically takes 3-4 minutes of simmering after coming to a gentle boil.
- → Can I make this ahead of time?
The balsamic glaze can be made in advance and stored in the refrigerator. However, grill the plums just before serving for the best texture and temperature contrast.
- → What wine pairs well with this dish?
A chilled Sauvignon Blanc or Prosecco complements the tangy goat cheese and sweet fruit beautifully. A light rosé also works well.
- → How can I make this vegan?
Simply substitute the goat cheese with a plant-based alternative. Many cashew-based or almond-based cheeses provide a similar creamy texture.
- → Do I need a grill or can I use an oven?
While grilling adds wonderful charred flavor, you can broil the plums in the oven for 3-4 minutes per side as an alternative.